Any registered member (Contributor, Author, Editor or Administrator) can create a post. They need to login using their userid and password then click on + New in the Toolbar, and select Post …

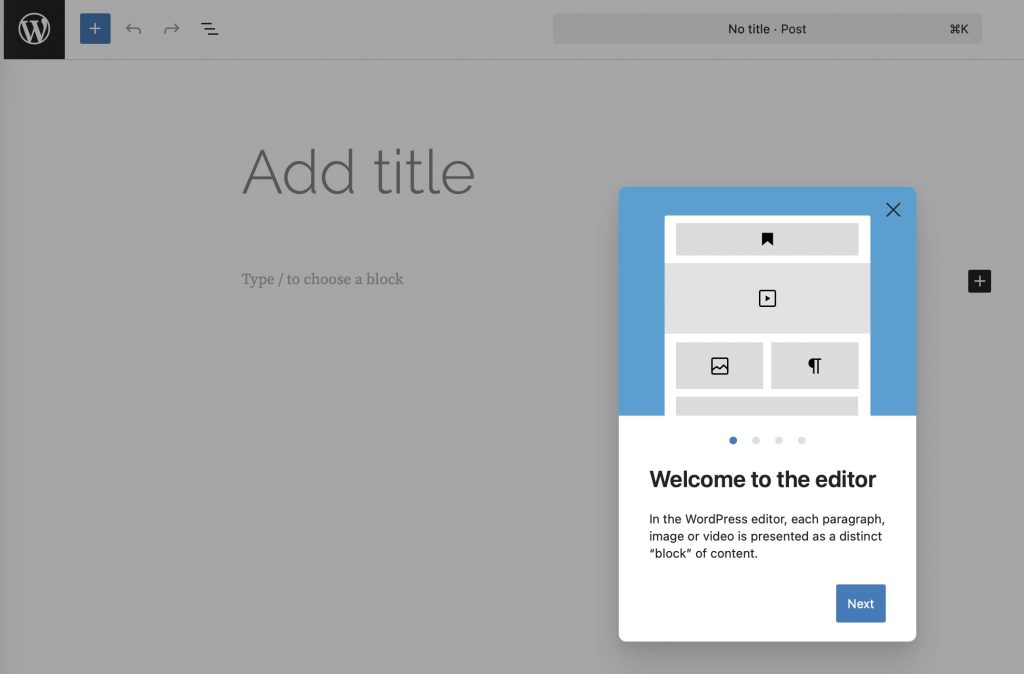
This will open a blank page with four help screens to get you started – you can subsequently disable these screens by clicking on ‘X’ in top right-hand corner of help screens …
Provide your Post with a Title, and Click on ‘+’ to select a Block type, eg Header or Paragraph
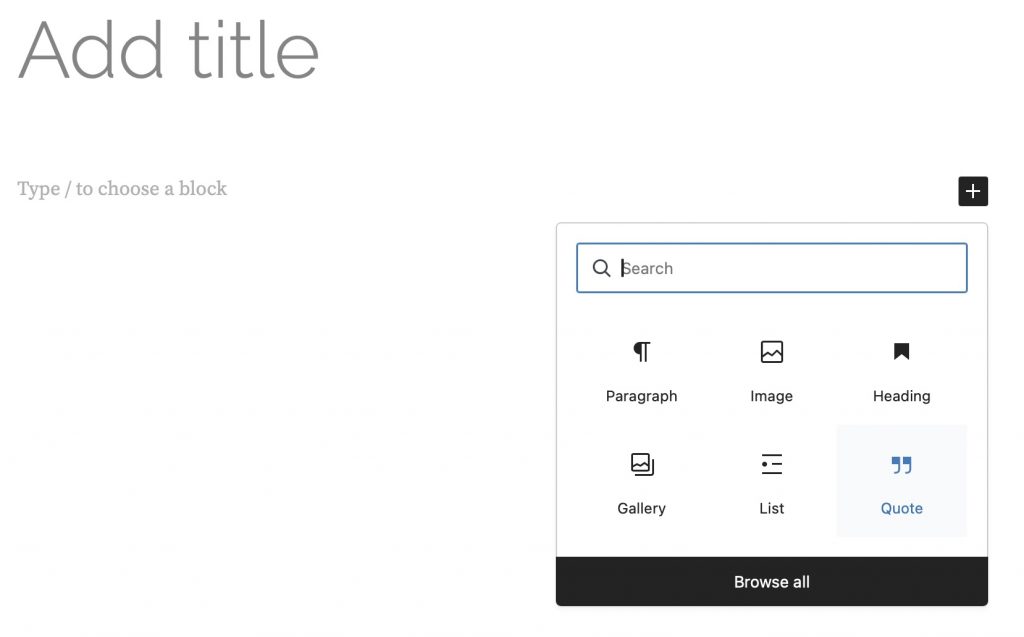
Enter text, or change block type by selecting ‘+’ to create a new Block. Try clicking on Browse all to see all the block types you can choose from – don’t worry if you don’t know what some of them might do, just experiment.
At the top of your screen there is a Toolbar …

… click on the ‘screen icon’ to see what your post looks like on a desktop, tablet or phone. You can also ‘Save draft’ as you work, so that you don’t lose any work.
The icon to the right of the ‘screen icon’ shows/hides the Sidebar on the right of the screen; the ‘three dots’ shows additional options (you can ignore these).
When finished, click on Categories and select News, Photography Group Post, Practical Photography Post or Lightroom Pantry Post as appropriate. Add Tags to describe your post which help it to be found when searching the site. When finished, click Submit for Review.
The post will be reviewed by an Administrator, or Editor, and will then appear on the website.